Slicer Guide
Slicer Settings That Actually Matter
Most slicers expose hundreds of settings. Beginners only need to control a small core set to get strong, clean, consistent prints. Here’s exactly what matters.
1
The Priority Settings
These 7 settings control the majority of your print quality. Get these right before touching anything else.
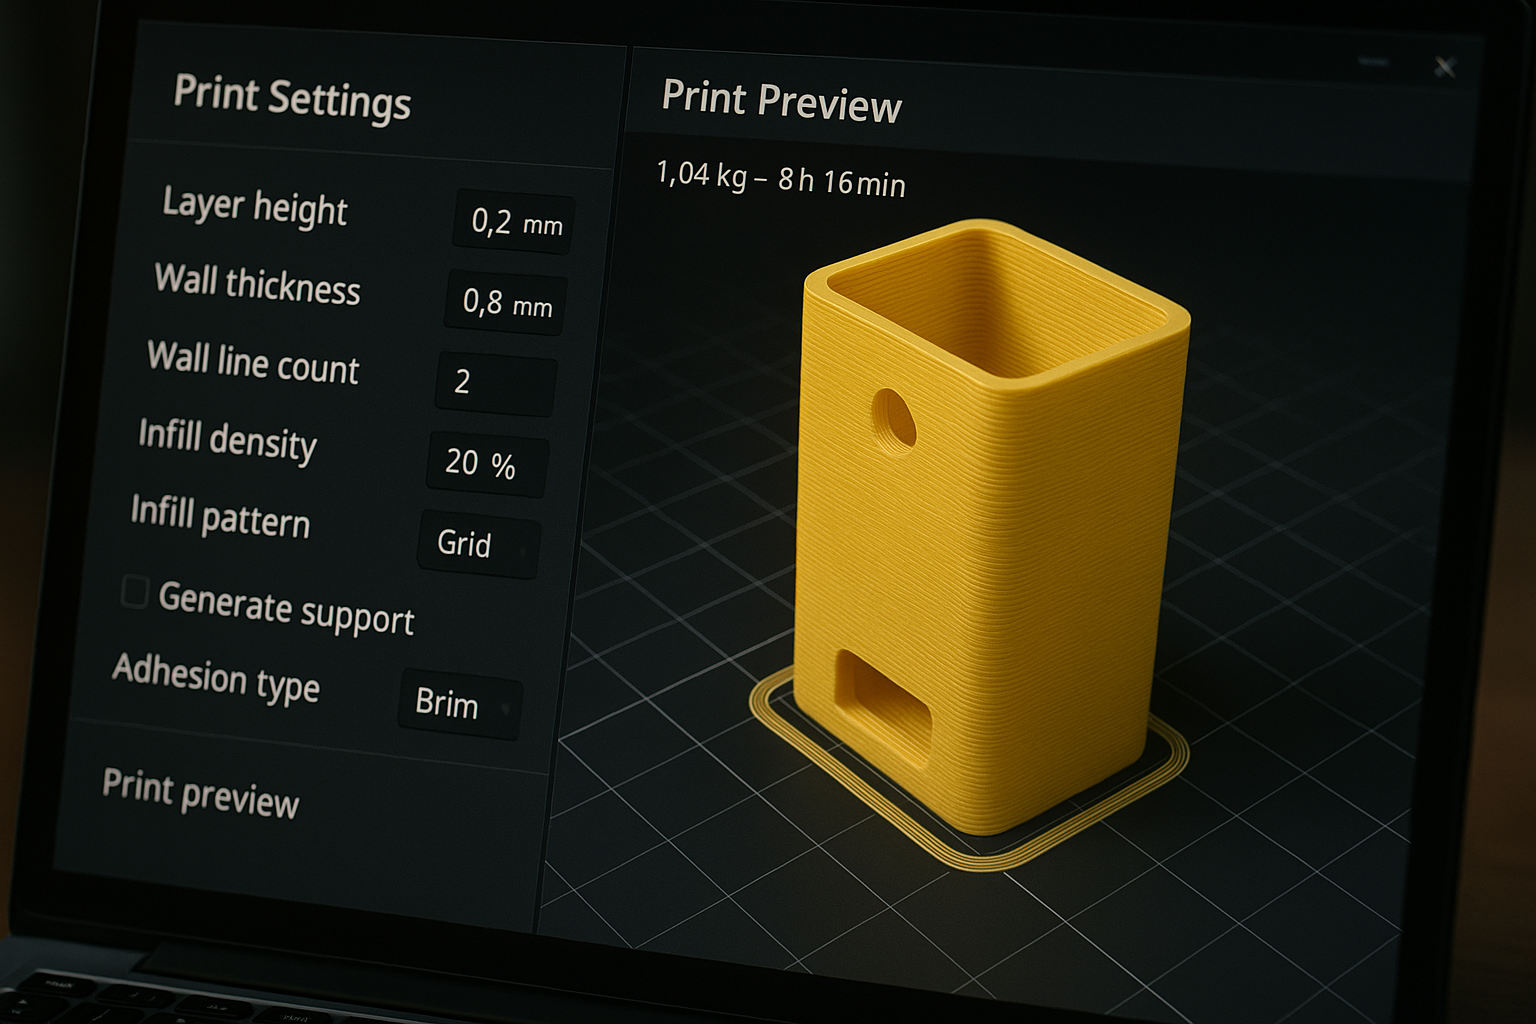
- Layer height: 0.2mm – the best balance of speed and quality
- Line width: 100-120% of nozzle diameter
- Wall count: 2-3 for general parts; 4+ for functional parts
- Top/Bottom layers: 4-6 for proper surface closure
- Infill: 10-20% gyroid or grid for general use
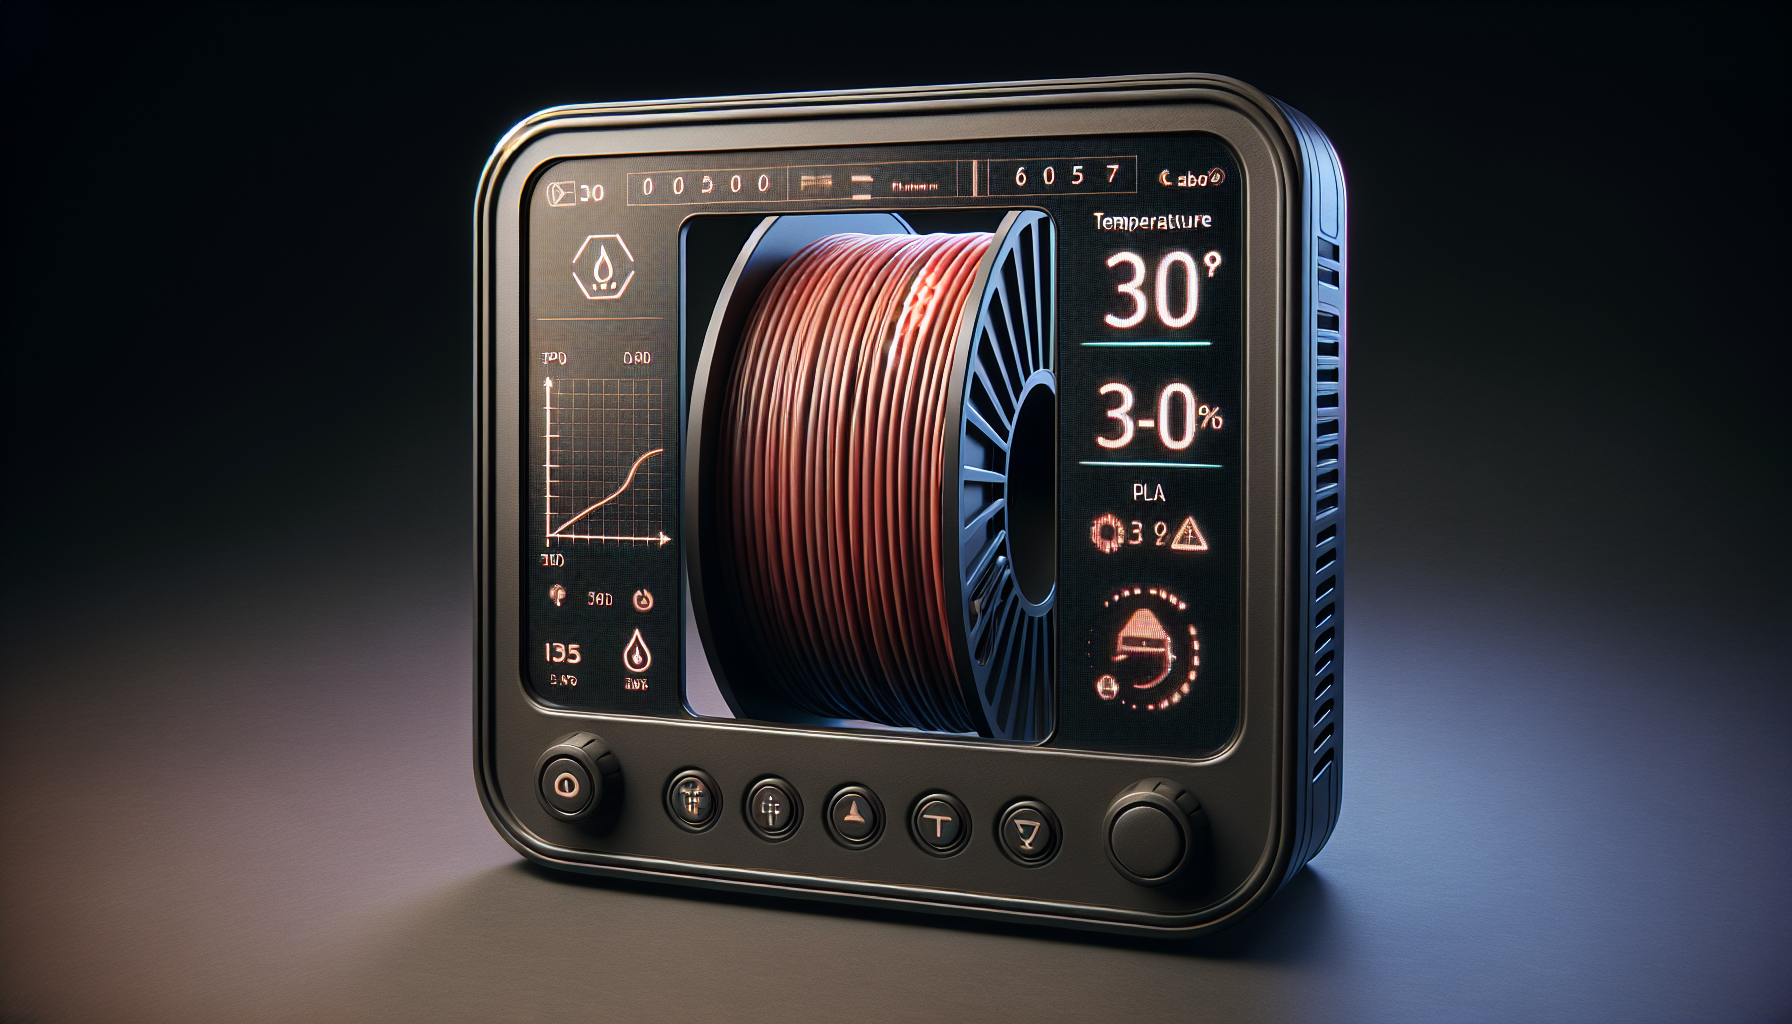
- Print & bed temp: tune by brand and color – start with manufacturer recommendation
- Speed & acceleration: keep conservative until quality is stable
💡 Tip: If you nail these 7, you’ll get better results than most people who’ve been printing for years.
2
Baseline Profile to Start With
Copy this profile for PLA on any standard FDM printer. Tweak from here once you’re getting consistent prints.
- Layer height: 0.2mm
- Wall count: 3
- Top/Bottom layers: 5
- Infill: 15% gyroid
- First-layer speed: 20mm/s
- Part cooling: 100% after layer 2-3 (PLA)
💡 Tip: Save this as a named profile in your slicer so you can always return to a known-good baseline.
3
The One-Variable Rule
When troubleshooting, change one setting at a time and keep notes. This prevents false conclusions and helps you build reusable profiles over time. Changing multiple settings at once makes it impossible to know what actually fixed the problem.
💡 Tip: Keep a simple text file or notebook with what you changed and the result. You’ll thank yourself later.
🚫 What to Ignore at First
Advanced seam painting, adaptive layer tricks, and aggressive speed optimization can wait. Nail these first:
- Bed adhesion and consistent first layers
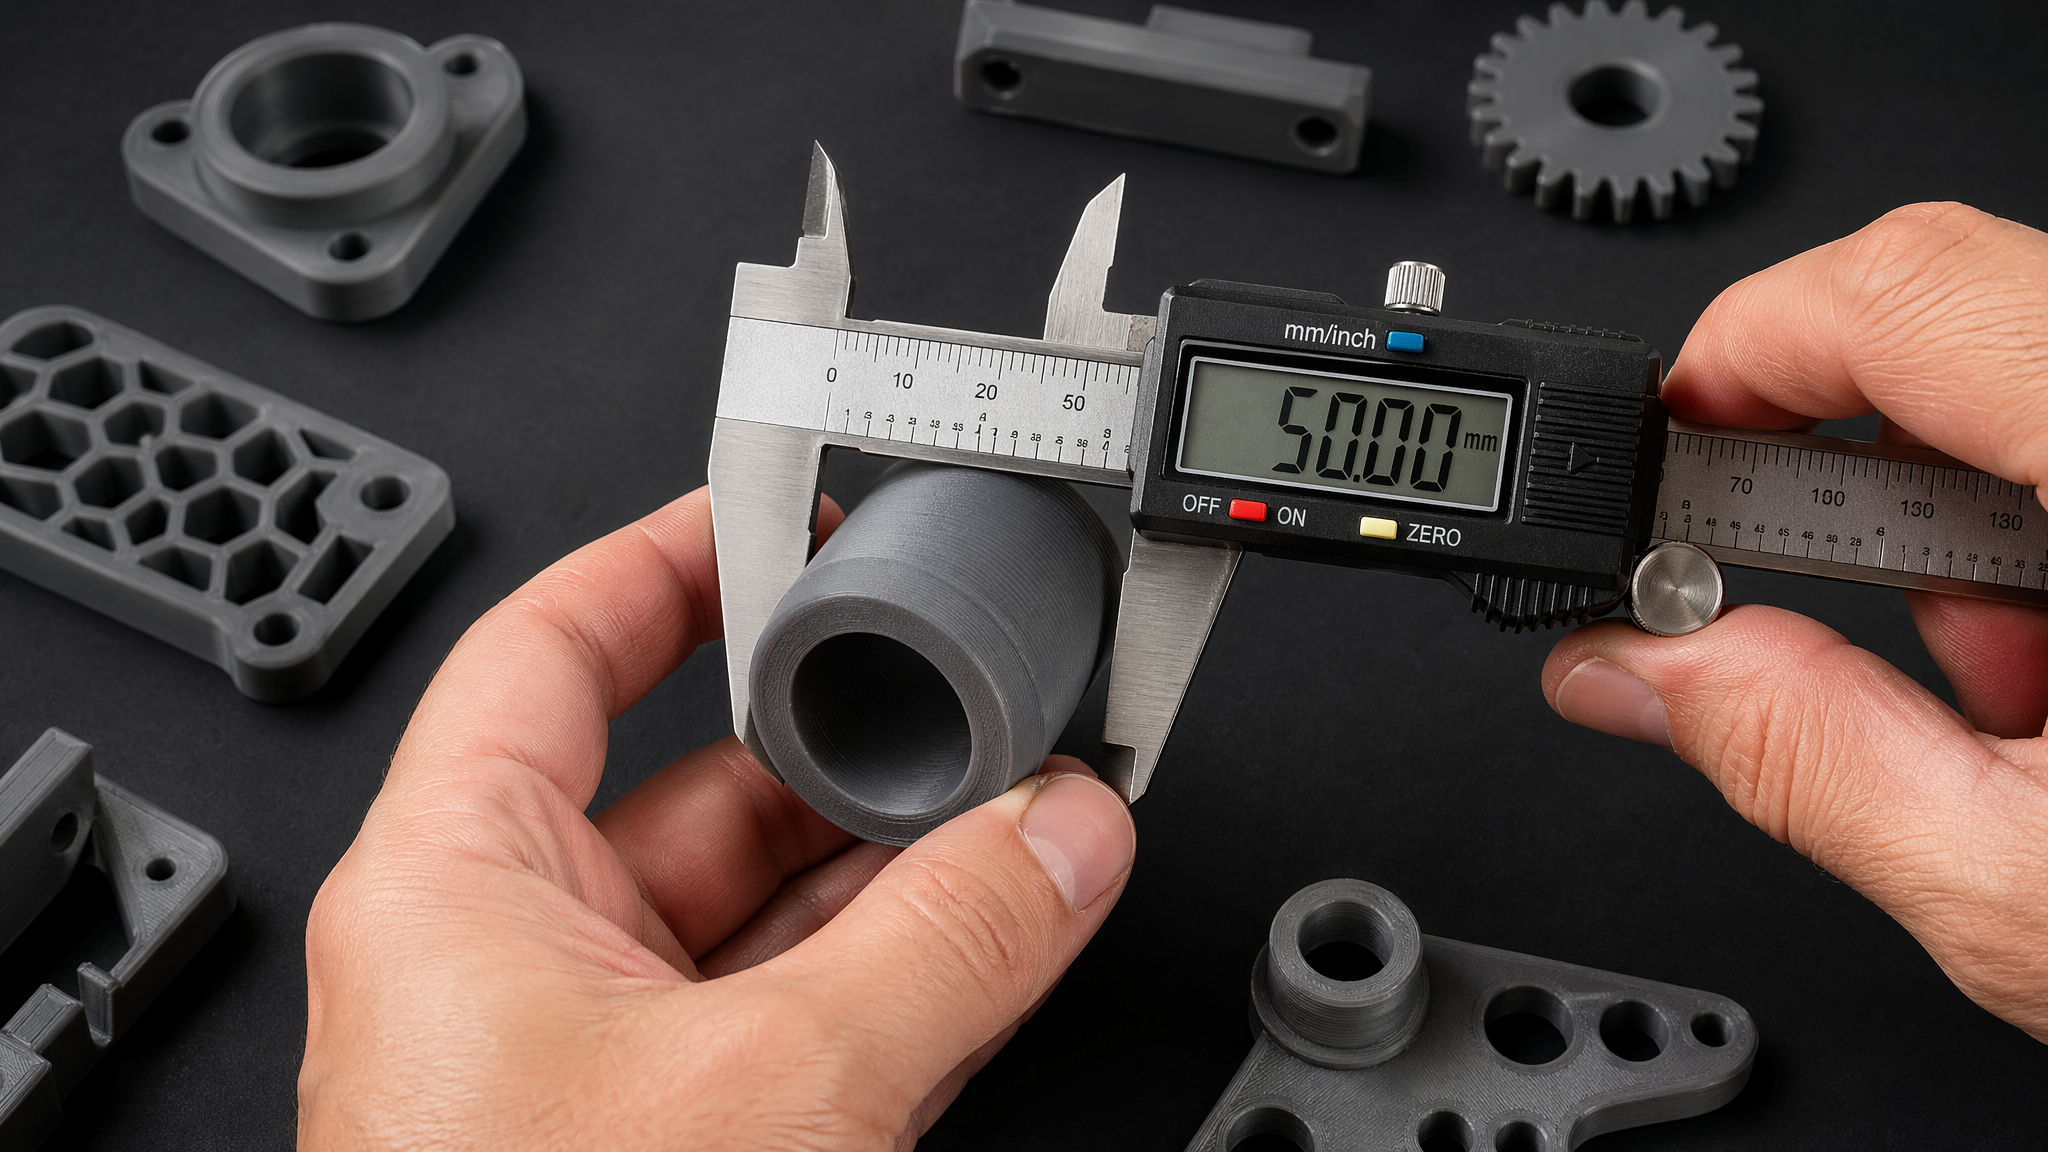
- Dimensional accuracy and repeatability
- Clean surfaces without stringing or blobs
📬 Get Weekly Tips in Your Inbox
Setup advice, buying guides, and troubleshooting fixes. No fluff, no spam.
Subscribe Free →