Affiliate Disclosure: This page contains affiliate links. If you buy through these links, PrintPilotLab may earn a small commission at no extra cost to you.
How-To Guide
How to Dry PLA Filament to Reduce Stringing
Wet filament causes stringing, weak layers, and popping sounds. Here’s how to fix it — and keep it dry for good.
Wet filament is one of the most commonly missed causes of bad prints. PLA absorbs moisture from the air — and once it does, that moisture turns to steam the moment it hits a hot nozzle. The result: popping sounds, excessive stringing, weak layer bonds, and bubbly surfaces. The fix is simple: dry it out.
How to Tell If Your Filament Is Wet
⚠️ Signs of Wet Filament
- Popping or crackling sounds from the nozzle while printing
- Excessive stringing even with correct retraction settings
- Bubbles or foam-like texture on print surfaces
- Weak layer adhesion — prints snap apart easily
- Inconsistent extrusion — thin and thick sections alternating
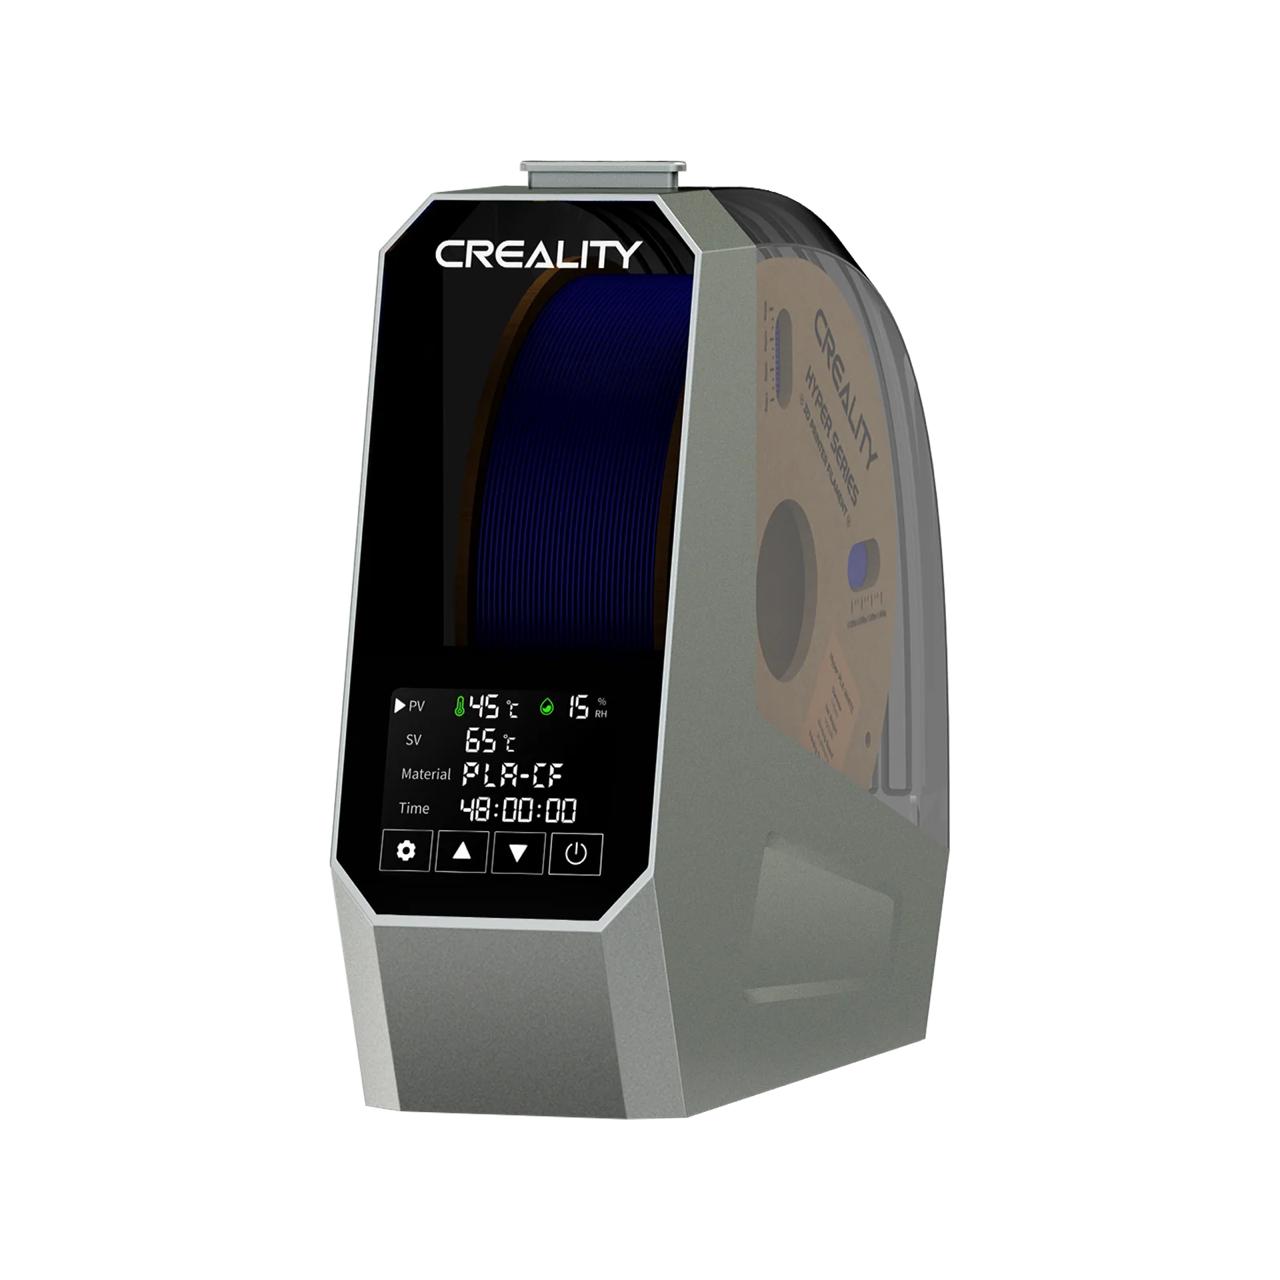
Method 1: Dedicated Filament Dryer (Best Option)
🌟 Recommended
Filament Dryer Box
A dedicated filament dryer is purpose-built for this job. Units like the Sunlu S2 or Creality Space Pi maintain precise temperature, display current temp and humidity, and — crucially — let you feed filament directly to your printer while drying. No need to stop printing to dry first.
Drying times: PLA: 4–6 hrs at 45°C | PETG: 4–6 hrs at 65°C | Nylon: 8–12 hrs at 75°C
Method 2: Food Dehydrator
🧁 Great Alternative
Food Dehydrator Method
A food dehydrator with adjustable temperature settings works excellently. Most standard 1kg spools fit on the trays. Set it to the correct temp for your material, place the spool inside, and run for 4–8 hours.
Method 3: Kitchen Oven
⚠️ Use With Caution
Oven Method
Works in a pinch for PLA and PETG. Set your oven to its lowest temperature (usually 50–60°C) and use an oven thermometer to verify — most ovens run hotter than indicated. Leave the door slightly ajar to let moisture escape.
Temperature Reference by Material
| Material | Drying Temp | Drying Time | Moisture Sensitivity |
|---|---|---|---|
| PLA | 45–50°C | 4–6 hours | Low–Medium |
| PETG | 55–65°C | 4–6 hours | Medium |
| TPU | 45–50°C | 4–8 hours | High |
| ABS / ASA | 65–75°C | 4–6 hours | Medium |
| Nylon | 70–80°C | 8–12 hours | Very High |
Keeping Filament Dry: Storage Tips
💡 Prevention Is Easier Than Drying
- Store open spools in airtight containers or vacuum bags with silica gel desiccant
- Replace or recharge desiccant when the color indicator changes
- Label containers with the open date so you know what to dry first
- For moisture-sensitive materials like Nylon and TPU, print directly from a sealed dry box
🏆 Bottom Line
A dedicated filament dryer is the best investment if you print regularly — especially with PETG, TPU, or Nylon. For occasional PLA printing, a food dehydrator does the job. Either way, storing your filament properly means you’ll rarely need to dry it in the first place.