Affiliate Disclosure: This page contains affiliate links. If you buy through these links, PrintPilotLab may earn a small commission at no extra cost to you.
Beginner Guide
10 Beginner Mistakes That Waste Filament (And How to Fix Them)
Every beginner makes these mistakes. Here’s how to identify them and stop burning through filament unnecessarily.
3D printing has a learning curve — and most of that curve is learning what not to do. The mistakes below are the ones that cost beginners the most filament, time, and frustration. Work through this list and you’ll print smarter from day one.
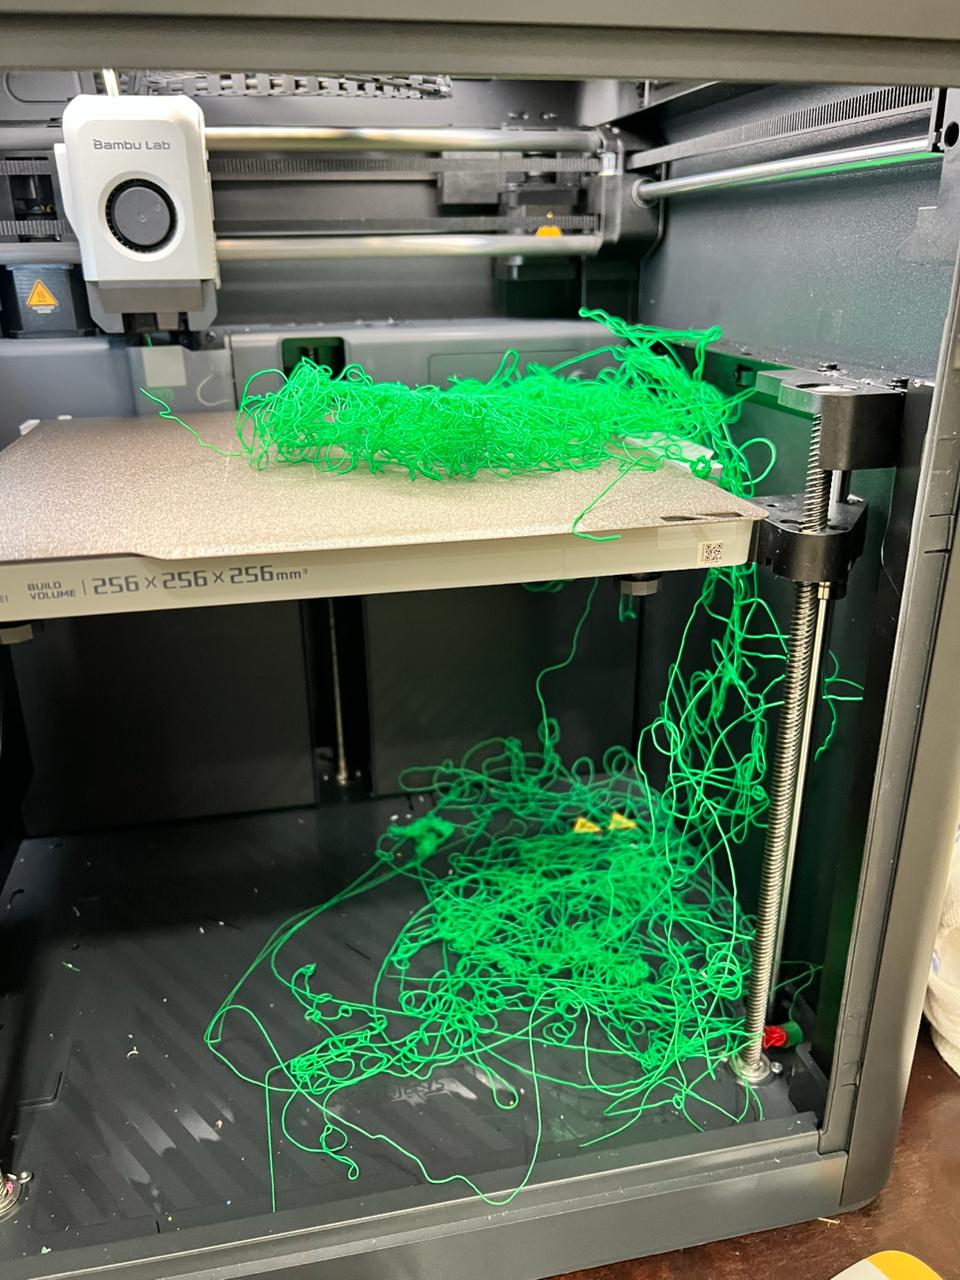
Skipping the First Layer Check
Most failed prints fail in the first layer. Beginners set a print running and walk away — only to return hours later to a plate of spaghetti. Always watch the first 2–3 layers. If they don’t look right, cancel now and fix the Z offset or bed level. Two minutes of attention saves hours of wasted filament.
Printing with Wet Filament
PLA left open for weeks absorbs moisture. Wet filament pops, strings excessively, produces weak layers, and leaves bubbly surfaces. Beginners often blame their printer or settings when the filament is the culprit.
Wrong Print Temperature
Using the same temperature for every PLA spool ignores that different brands and colors print best at different temperatures. Too cold = under-extrusion, weak layers, poor adhesion. Too hot = stringing, blobbing, oozing.
Skipping Calibration
Printing directly out of the box without checking e-steps, flow rate, or Z offset means every print is potentially wrong from the start. Beginners waste hundreds of grams of filament on prints that could have been fixed with 30 minutes of calibration.
Ignoring Slicer Settings
Using the slicer’s default profile for every print wastes filament on unnecessary supports, overly thick walls, and excessive infill. Default settings are conservative — not optimal.
Not Using Supports Correctly
Either adding supports everywhere (wastes filament, hard to remove) or not adding them where needed (print fails mid-air). Overhangs beyond 45° typically need support. Everything else usually doesn’t.
Over-Retraction
Cranking retraction too high trying to eliminate stringing causes under-extrusion, gaps, and clogs. More retraction is not always better. There’s a sweet spot — usually 1–6mm depending on extruder type.
Printing Too Fast Without Input Shaping
Pushing speed beyond what the printer can handle without input shaping/resonance compensation produces ghosting, ringing artifacts, and poor surface quality. The print technically completes — but looks terrible.
Wrong Cooling Settings
Too much cooling on the first layer prevents adhesion. Too little cooling on bridges and overhangs causes drooping. Beginners often set fan to 100% for everything or leave it off entirely.
Never Doing Maintenance
Loose bolts, dirty nozzles, worn PTFE tubes, and un-lubricated rods cause print quality to degrade gradually — until something breaks. Beginners often blame settings when the machine just needs maintenance.
🏆 The Big Three
If you fix only three things: watch your first layer, keep your filament dry, and calibrate before big prints. Those three alone eliminate the majority of filament waste for beginners.