Affiliate Disclosure: This page contains affiliate links. If you buy through these links, PrintPilotLab may earn a small commission at no extra cost to you.
Troubleshooting Guide
3D Printer Bed Adhesion Fixes: 7 First-Layer Tweaks That Work
Prints not sticking? Work through these seven fixes in order and you’ll solve it every time.
First layer adhesion problems are the most common issue beginners face — and the most fixable. The print lifts, warps, or just won’t stick to the bed. Before you give up or buy anything, work through these seven tweaks. In order of how often they actually solve the problem.
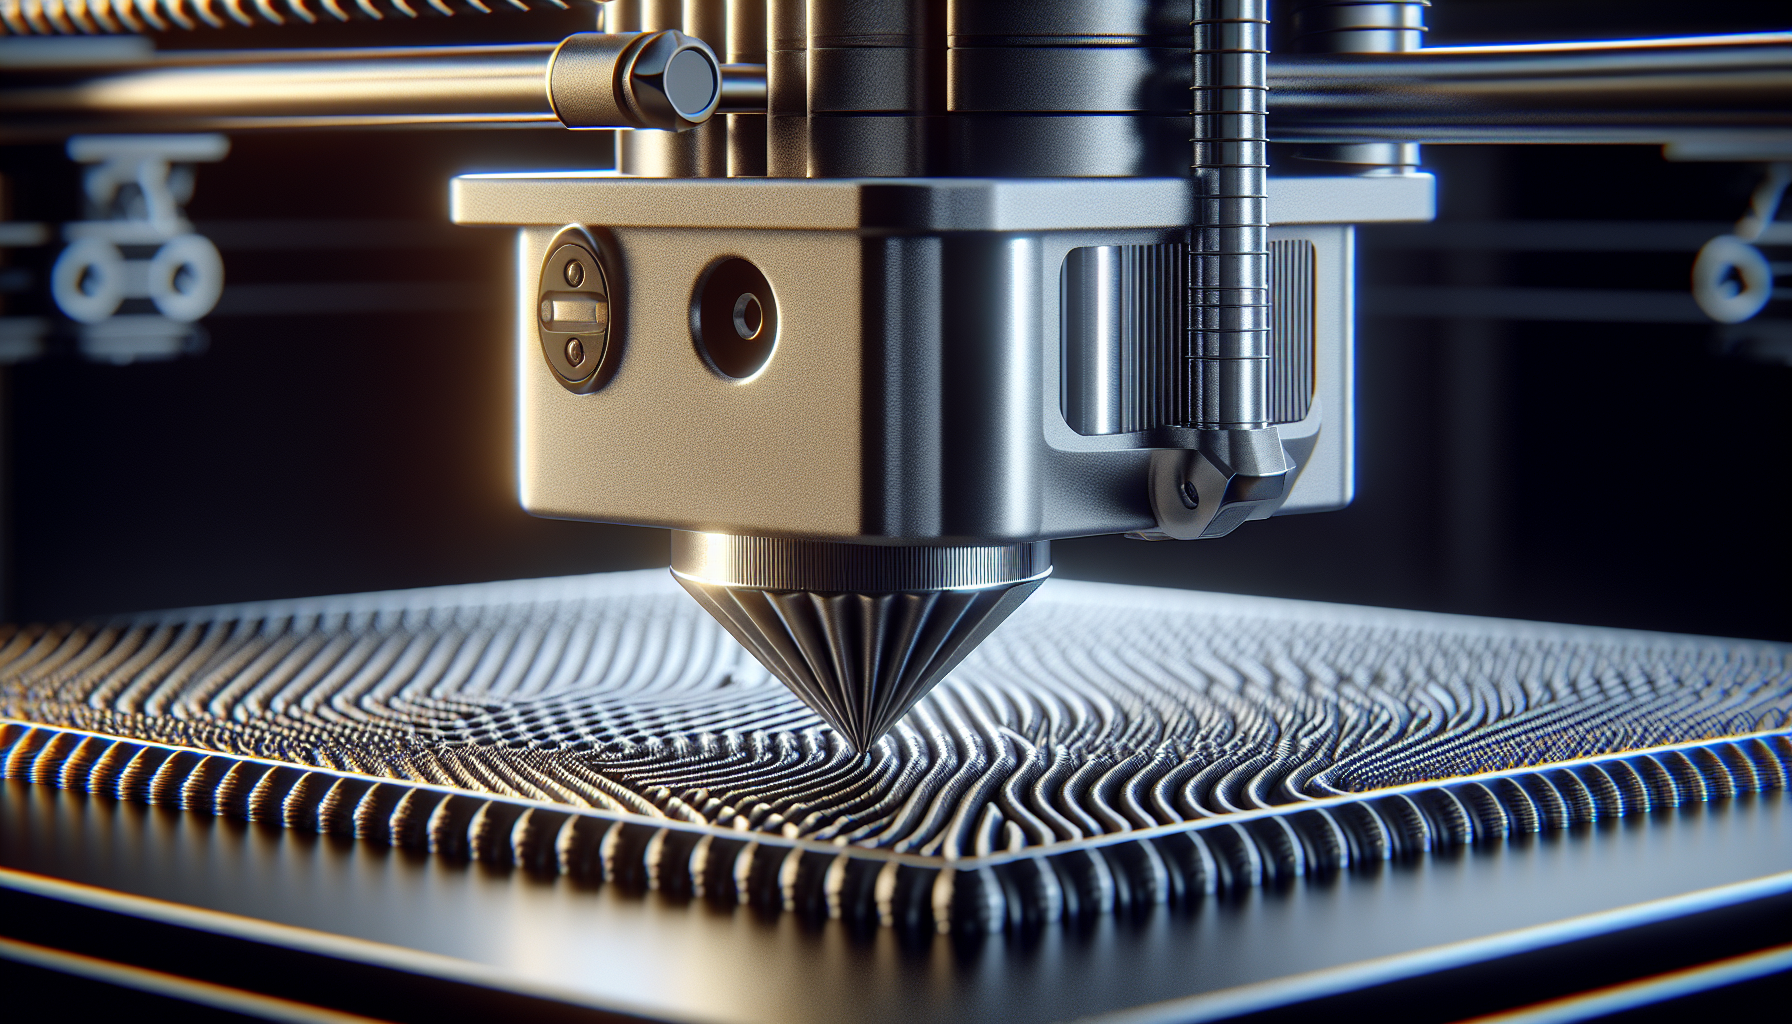
Adjust Your Z Offset
This fixes the problem most of the time. Your nozzle needs to be close enough to slightly squish the first layer into the bed — not so close it scrapes, not so far the filament doesn’t stick.
- Too high: Filament curls up, doesn’t bond to bed, spaghetti
- Too low: Nozzle scrapes surface, no extrusion, clicking extruder
- Just right: Lines are slightly flattened and merge slightly at edges
Adjust in 0.05mm increments while the first layer is printing. Most printers allow live Z offset adjustment from the screen.
Clean the Bed Surface
Oils from your hands, residue from previous prints, and dust all destroy adhesion. A bed that looks clean often isn’t. Clean with 90%+ isopropyl alcohol before every print session — wipe in one direction, don’t scrub back and forth.
Level the Bed Properly
Auto bed leveling compensates for an uneven bed surface but doesn’t replace proper tramming. If your bed is significantly out of level, ABL struggles to compensate for the full range. Re-tram manually with the paper method, then run your ABL mesh.
Check Bed Temperature
Bed temperature matters more than most beginners realize. Too cold and PLA won’t bond properly. Too hot for PETG and it bonds too aggressively (tears the surface on removal).
| Material | Bed Temp |
|---|---|
| PLA | 55–65°C |
| PETG | 70–85°C |
| ABS / ASA | 100–110°C |
| TPU | 30–60°C |
Slow Down the First Layer
First layer speed is one of the most impactful slicer settings for adhesion. Printing too fast prevents the filament from bonding properly to the bed. Start at 20–25mm/s for the first layer — even on fast printers. You can speed up subsequent layers.
Use Adhesion Helpers
When the above fixes aren’t enough — especially for ABS, ASA, or large flat prints — adhesion helpers give the first layer something to grip.
- Glue stick (washable Elmer’s): Best general-purpose adhesion helper. Apply a thin layer to the bed, let dry. Works on glass, PEI, and BuildTak.
- Hairspray: Cheap, effective on glass beds. Spray from 30cm away for an even coat.
- PEI sheet: The best long-term solution — excellent adhesion when warm, releases cleanly when cool. Shop PEI sheets
Add a Brim or Raft in Your Slicer
For models with small contact areas, tall thin features, or materials prone to warping (ABS, ASA), adding a brim or raft dramatically improves bed adhesion by increasing the surface area in contact with the bed.
- Brim: Extends the first layer outward by a set number of lines. Minimal extra material, easy to remove. Best first choice.
- Raft: Prints a thick base under the entire model. More material, harder to remove, but maximum adhesion for warping-prone materials.
🏆 Quick Fix Order
Start with Z offset — it fixes most cases. Then clean the bed. Then check bed temperature and first layer speed. Only add glue or brims if the fundamentals are already right.