Affiliate Disclosure: This page contains affiliate links. If you buy through these links, PrintPilotLab may earn a small commission at no extra cost to you.
Design Guide
How to Design Strong FDM Parts: Orientation, Walls, and Infill
The practical principles that make the difference between parts that hold and parts that snap.
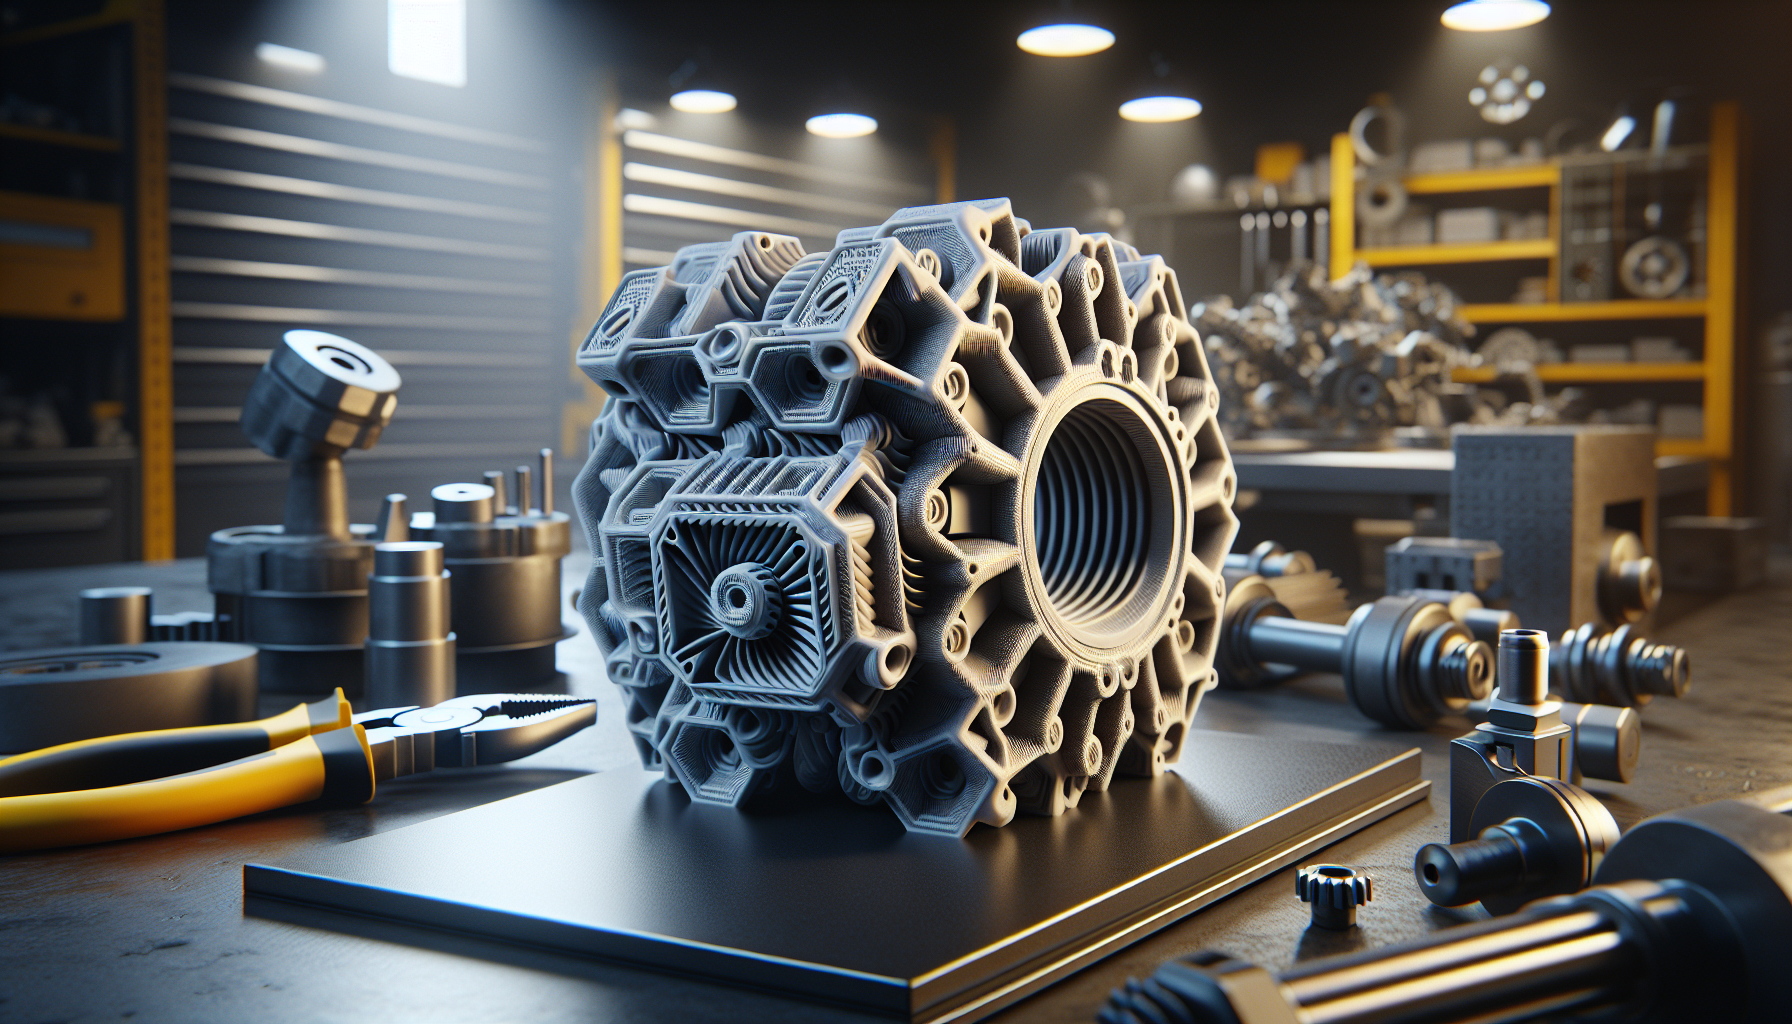
FDM prints are strong — but only in the right direction. A part that’s incredibly tough along its layer lines can be surprisingly weak across them. Understanding how orientation, wall count, and infill interact is the difference between a functional part that lasts and one that snaps the first time it’s stressed. Here are the principles that actually matter.
Orientation Is the Most Important Decision
FDM parts fail along layer lines. A layer bond is typically 50–80% as strong as the material itself. This means the direction your layers run is the most critical strength decision you make — more important than infill percentage or wall count.
The rule: Orient your part so the primary stress direction runs along layer lines, not perpendicular to them.
- A bracket under bending load → print so layers run parallel to the bending direction
- A snap clip or hook → layers should run along the length, not across it
- A threaded insert boss → print vertically so layers wrap around the thread path
Walls Beat Infill for Strength
Counterintuitively, increasing wall count does more for part strength than increasing infill percentage. Walls are continuous solid extrusion paths that run the full height of the part. Infill is just interior fill — it helps with compression but less with tensile or bending loads.
| Wall Count | Best For |
|---|---|
| 2 walls | Decorative / visual models only |
| 3–4 walls | Most functional parts, standard use |
| 5–6 walls | High-stress parts, brackets, clamps |
| Solid (100%) | Maximum density — heavy wear surfaces, press-fits |
Choose the Right Infill Pattern
Infill pattern matters for strength, flexibility, and print time. Here’s what to use when:
- Gyroid: Best all-purpose for functional parts. Isotropic strength (equal in all directions), prints fast, handles compression and flex well. Default choice.
- Grid / Rectilinear: Fast and simple. Good for non-critical parts. Slightly weaker diagonally.
- Honeycomb: Good compression resistance. Use for parts under consistent vertical load.
- Lightning: Visual models only — minimal material, minimal strength.
Layer Height and Adhesion
Thinner layers create more surface contact between layers, improving Z-axis strength. The tradeoff is print time. For most functional parts, 0.2mm is the sweet spot — good adhesion without excessive print time.
- 0.1–0.15mm: Maximum Z-strength, fine surface detail — use only when needed
- 0.2mm: Best all-round for functional parts
- 0.25–0.3mm: Faster prints, acceptable quality for non-critical parts
Design Tips for Strong Parts
These design decisions compound with your print settings to either strengthen or weaken your parts:
- Add fillets to internal corners — sharp internal corners are stress concentrators and crack starting points. A 1–2mm fillet radius makes a significant difference.
- Avoid thin walls under 1.2mm — they won’t print cleanly and will be fragile regardless of settings.
- Avoid unsupported cantilevers — add gussets or design for the print orientation to support the load path.
- Design holes 0.1–0.2mm oversize — FDM shrinkage makes holes print smaller than designed.
- Use chamfers on bottom edges instead of sharp 90° bottom corners — improves first layer and reduces elephant’s foot.
- Keep minimum feature size above 2× your layer height for reliable printing.
✅ Strong Part Checklist
- □ Oriented so primary stress runs along layer lines
- □ 4+ walls for functional parts
- □ Gyroid infill at 20–40%
- □ 0.2mm layer height
- □ Fillets on all internal corners
- □ No walls thinner than 1.2mm
- □ Holes designed 0.1–0.2mm oversize
🏆 The Short Version
Orient for the load. Use 4 walls. Use Gyroid at 20–40%. Print at 0.2mm. Add fillets. These five decisions make your functional prints dramatically stronger with no extra cost.